Before you add a site:
- Make sure the website you’re going to add has WooCommerce installed.
- On the same browser window as Blue Odin, log in to your WooCommerce site first.
You can add as many WooCommerce sites as you like.
Table of Contents
- Before you add a site:
- Step 1
- Step 2
- Step 3
- Step 4
- Step 5
- Problem with the automatic authentication process?
- How to manually enter WooCommerce authentication tokens
- Example of WooCommerce site added to Blue Odin
Step 1
Click your profile in the upper right corner, then click on Sites.

Step 2
Click the + or ‘add site’ button.

Step 3
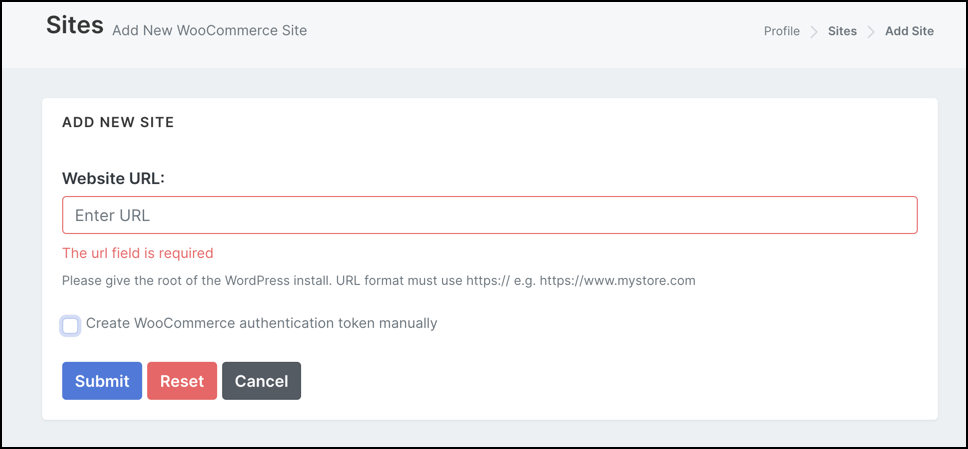
Enter the Website URL of your WooCommerce site, then click Submit.
Note:
Ticking the box “Create WooCommerce authentication token manually” is NOT normally required. Tick the box ONLY if you have issues with the automatic authentication process and would like to try again with manual authentication.
Step 4
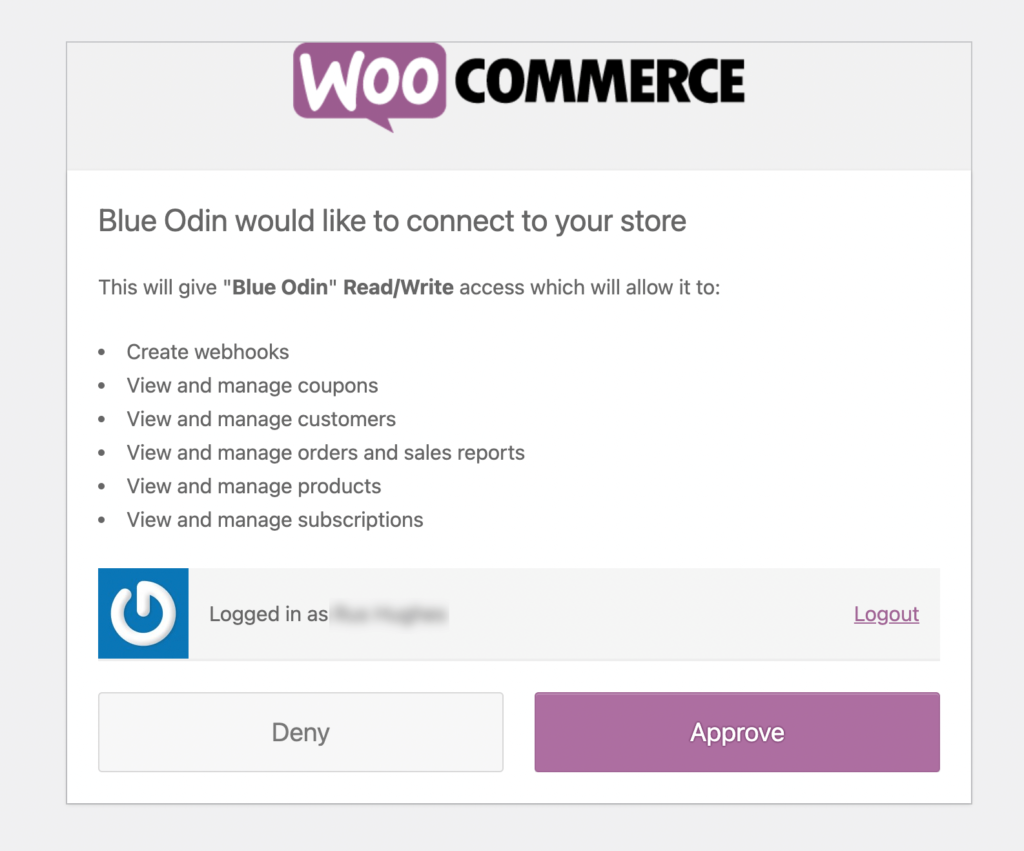
Click Approve to connect and import your WooCommerce data to Blue Odin.
Step 5
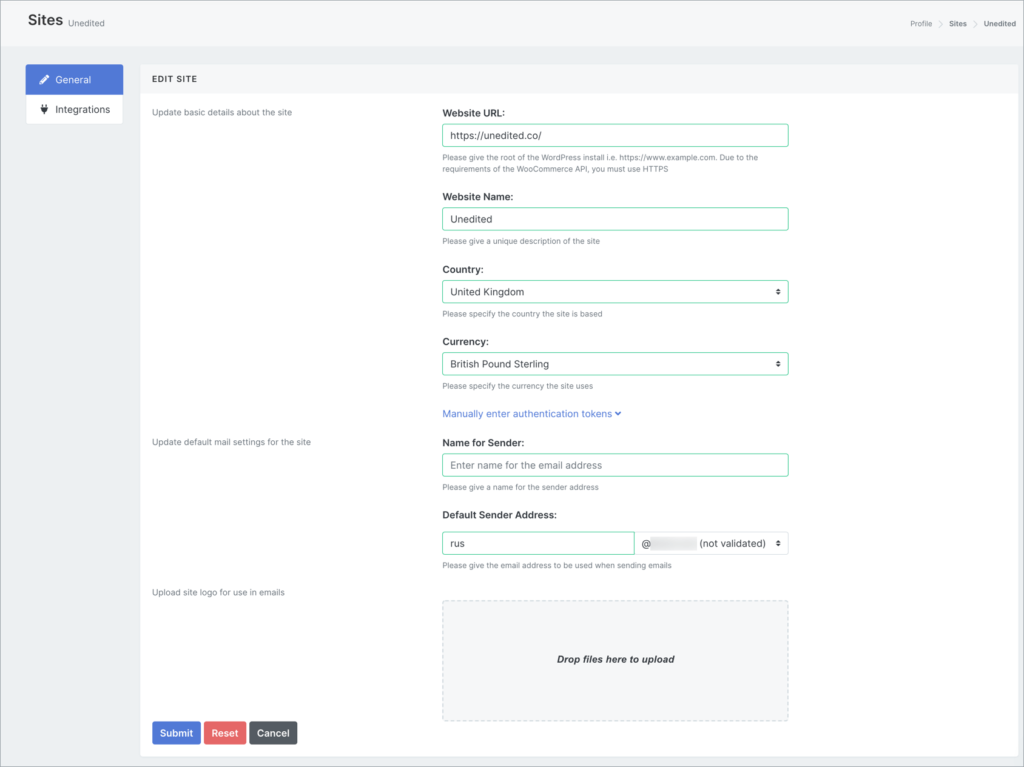
Blue Odin will ask you to confirm and update the basic details about your website, your default mail settings, and the logo you want to use in your emails.
Problem with the automatic authentication process?
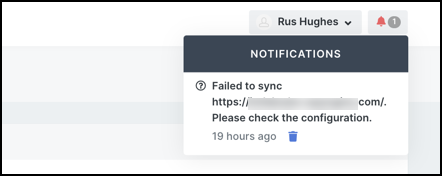
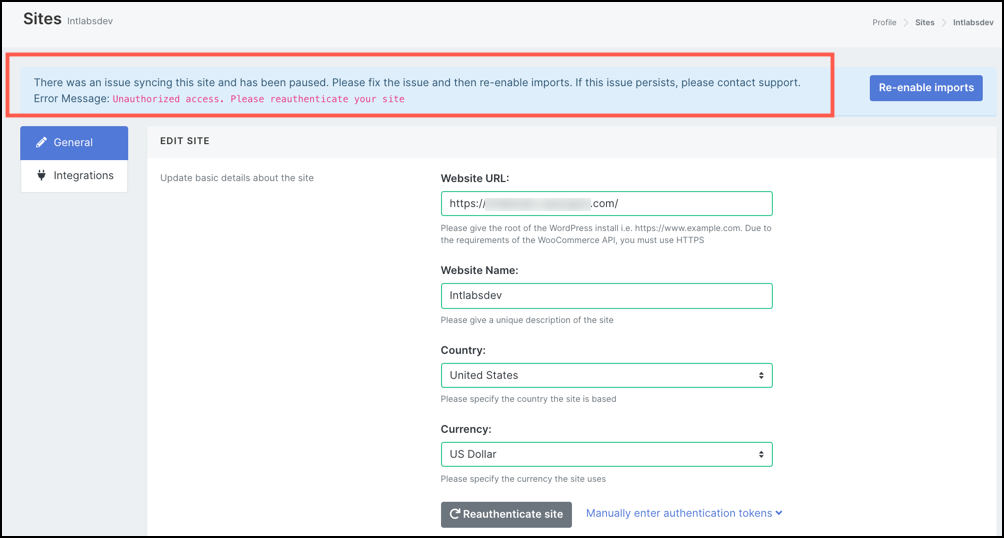
You will see error messages if the authentication process fails:
1) Notification tray in the upper right corner
2) On top of the individual site edit page
3) A red cross in the importing column in Sites List

There are a couple of reasons why automatic authentication fails:
1) Unauthorized access
2) Deleted key in WordPress (you may generate them again in WooCommerce > Settings > Advanced > REST API > Add Key).
If you’re sure you typed in the correct details, then you may click the Reauthenticate site button.
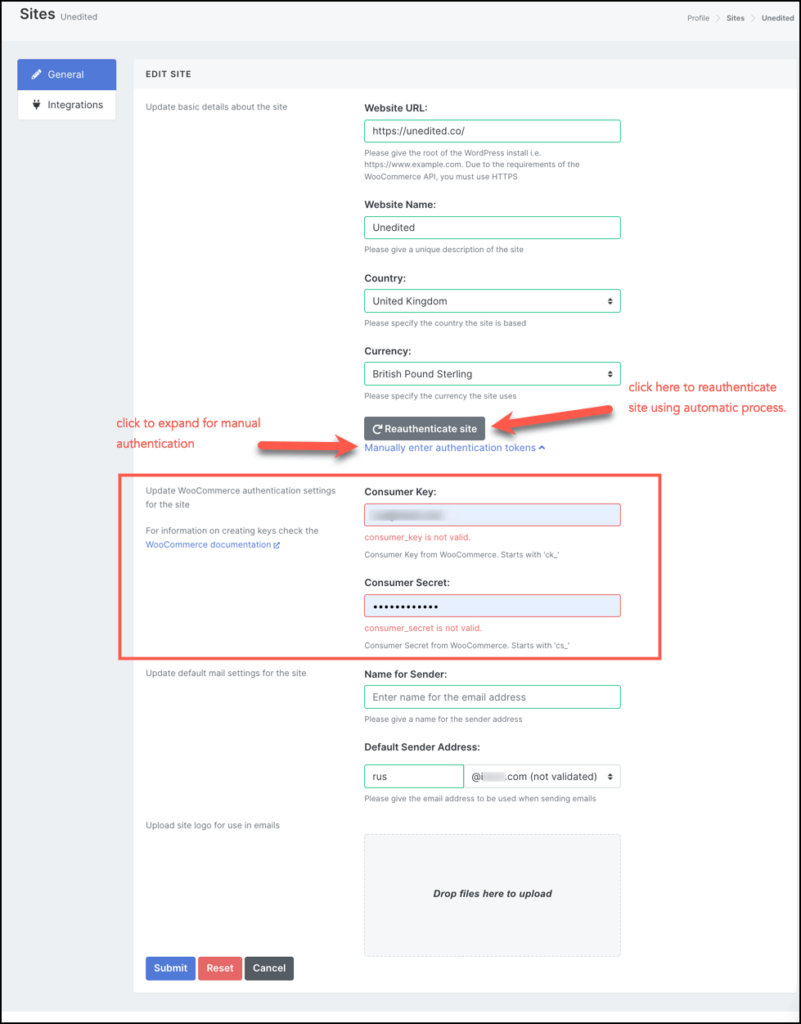
Otherwise, you will need to manually enter the WooCommerce keys (please see below).
How to manually enter WooCommerce authentication tokens
If the automatic authentication process fails, you can manually enter your WooCommerce authentication tokens in Blue Odin.
You can generate them in WooCommerce > Settings > Advanced > REST API > Add Key.
Give your key a description, select the user, and choose the applicable permission level for the user (read, write, read/write access). Then click on Generate API Key.
(For more information on creating auth keys, check the WooCommerce documentation here.)
Copy the Consumer Key and Consumer Secret and paste them into the Blue Odin. Then click Submit when you’re done updating all the site details.
Example of WooCommerce site added to Blue Odin

Note: It may take up to 1 hour to import your store’s data to Blue Odin.

