Click on your account profile in the upper right-hand corner, then click on Settings.

On the left-hand side, you will see 6 tabs that correspond to each setting that you can edit:
Tab #1: General settings
The default currency used in Blue Odin is the US Dollar, but you can change it here in this section.
Take note, however, that the change may take up to 10 minutes whilst the system recalculates exchange rates.

Tab #2: Profile settings
You can update your Display Name in this tab.
Note that you cannot change the email address you used to sign up.

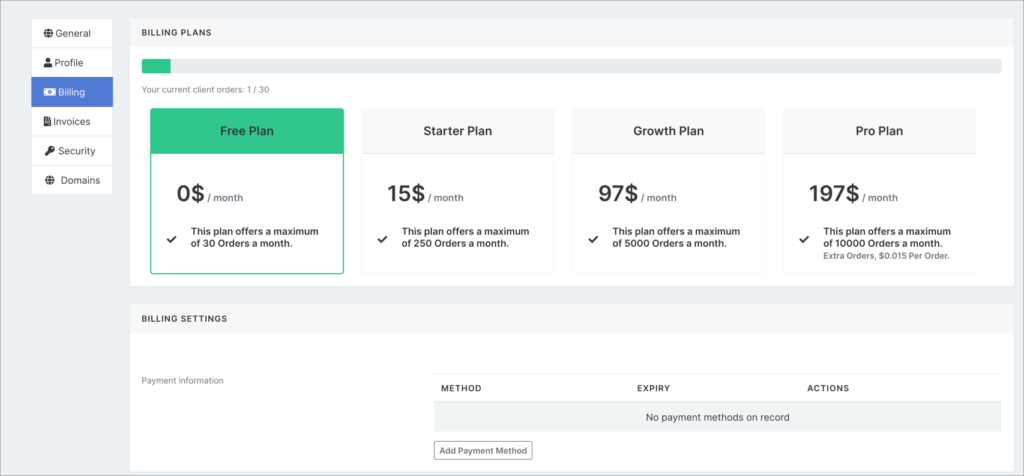
Tab #3: Billing settings
In this section you can see the Billing Plan you have signed up for, as well as the different options should you wish to upgrade or downgrade your plan.
You can also add your Payment Method in this tab.

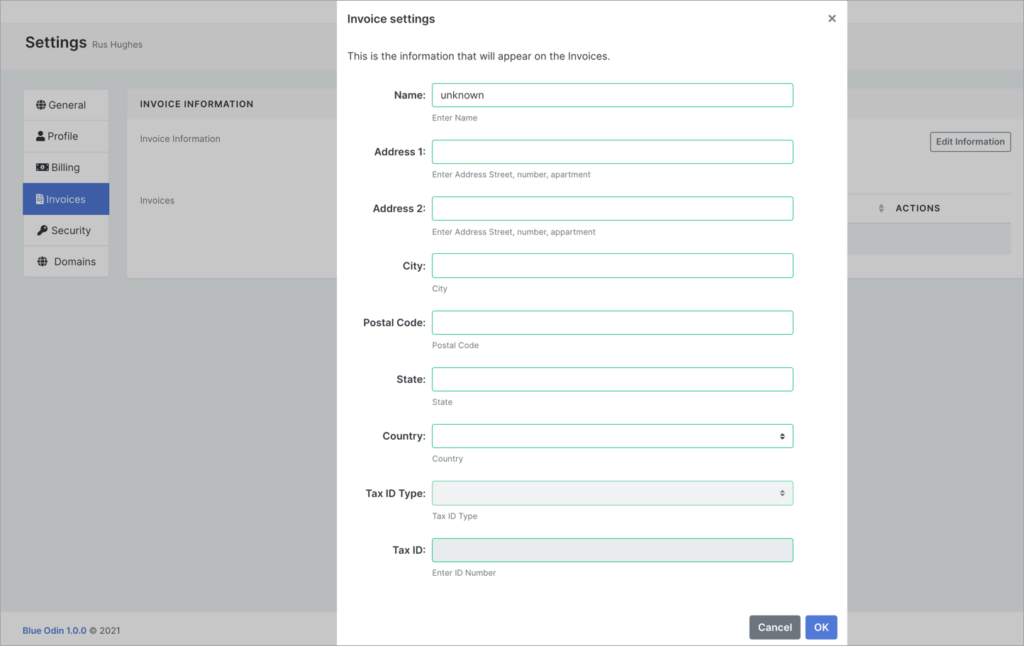
Tab #4: Invoices
In this section, you will see the available invoices in your account.

Click on Edit Information if you’d like to update the information that will appear on your Invoices. Click OK to save your changes.

Tab #5: Security
You can update your password if you’d like to (make sure you choose a secure password).
Hit Submit to save your new details.

Tab #6: Domains
In this section, you can view domains registered in your account and validate email security details, too.
Example of validated domains:

Example of non-validated domain:

Note:
The delete button is disabled when the domain is being used. You will see this message if you hover your mouse over the delete button – “This domain is being used, it can’t be deleted”.

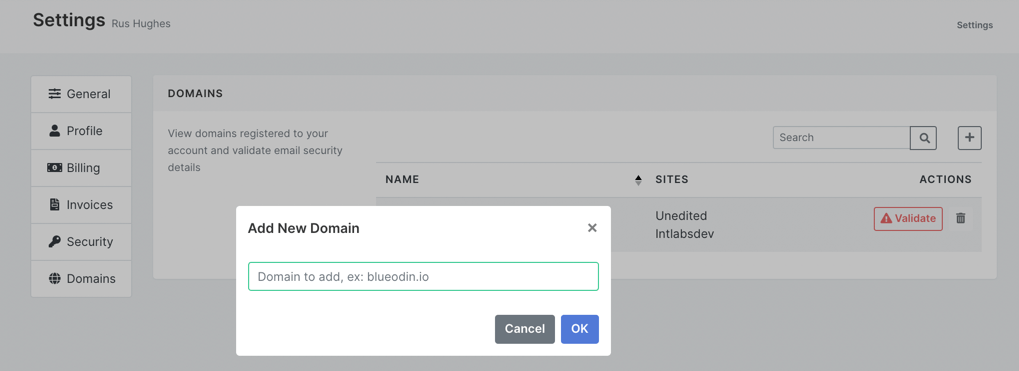
How to add a new domain
If you’d like to add a new domain, just click on the + icon in the upper right corner. Then type in the domain name (e.g. blueodin.io, not https://blueodin.io) as you see below.

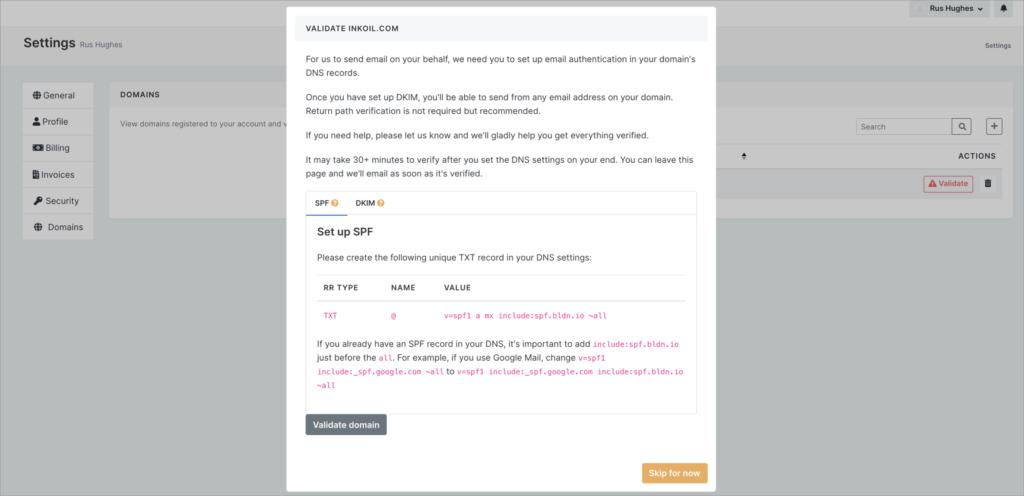
How to validate a domain?
To validate the domain, click on the red Validate button. You will see this popup with instructions on how to set up SPF or DKIM in your domain’s DNS records, so you can start sending emails using your email.
Once you’ve set up either SPF of DKIM, click on the Validate domain button.

Here’s what happens if the SPF or DKIM is not properly configured:

Follow the provided instructions carefully. If you need any help setting it up, please contact us ASAP.

