To send emails from Blue Odin – and make sure your customers receive them – you need to set up both SPF and DKIM records in your web hosting account.
If you’re not sure how to go about doing this part, please get in touch with your web hosting company or your IT personnel.
RELATED HELP GUIDE: How to validate your domain in Blue Odin
Table of Contents
Part 1: How to add/update SPF record
Here’s where you can find the SPF settings in a few popular DNS services.
1) cPanel providers
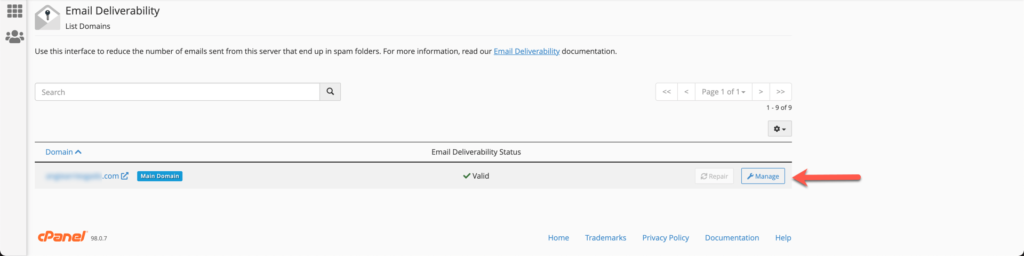
Go to Email > Email Deliverability

Select the domain name from the domain list and click on Manage.
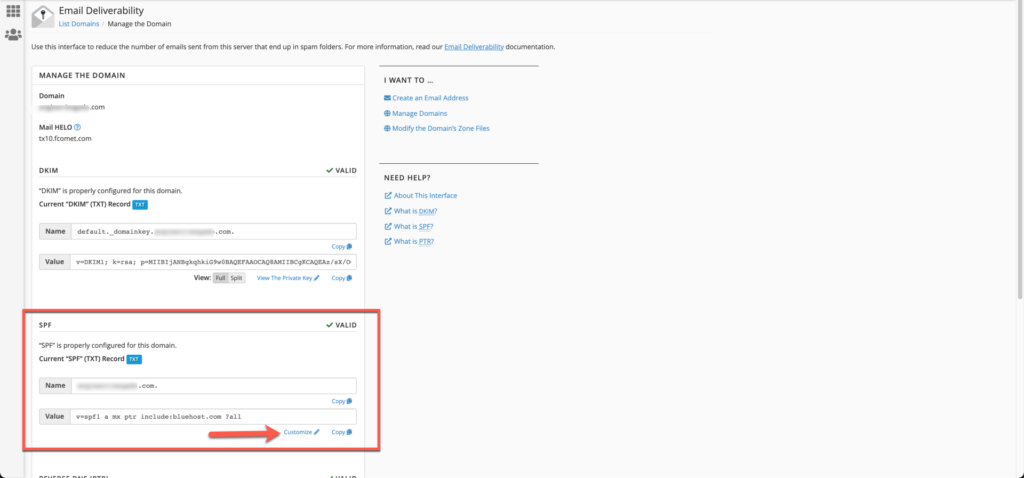
Scroll down to the SPF section and click Customize.
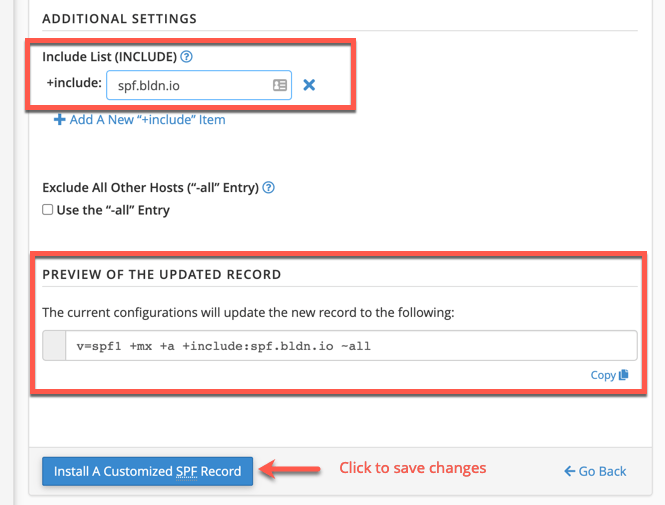
Look for the Additional Settings section and type spf.bldn.io in the Include field.
Check the preview to see if the TXT SPF record is correct.
Click on Install A Customized SPF Record to save the changes.
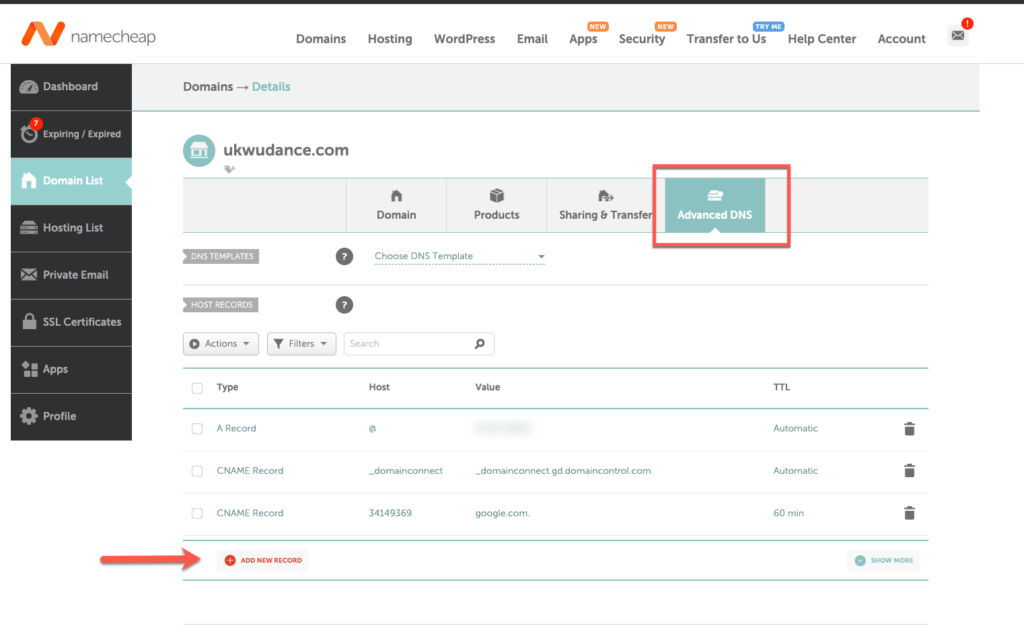
2) Non-cPanel providers
Go to Domain List > Select the correct domain > Manage.

In the Domain Details page, click on the Advanced DNS tab. Under Host Records, select Add New Record.
Do the following next:
- Select TXT Record
- Enter @
- Add v=spf1 a mx include:spf.bldn.io ~all
- Select Automatic
- Click Save All Changes

Here’s what the syntax above means:
v=spf1 –> this indicates the TXT entry is an SPF record
a –> the DNS A record of the domain
mx –> the DNS mx record of the domain as authorized
include:spf.bldn.io –> you’re authorizing Blue Odin to send emails on your behalf
~all –> policy to be applied for all other sources, ~all means a soft fail, i.e. non-authorized emails will be accepted
Part 2: How to add a new DKIM record
Please create the following unique TXT record in your DNS settings:
- RR type: CNAME
- Name: 8aea27._domainkey
- Value: s1.domainkey.bldn.io
NOTE: The NAME code is specific to your domain. You will need to get it from your Blue Odin dashboard. Head on over to Profile > Settings > Domains and click the Validate button. You will see the popup below:
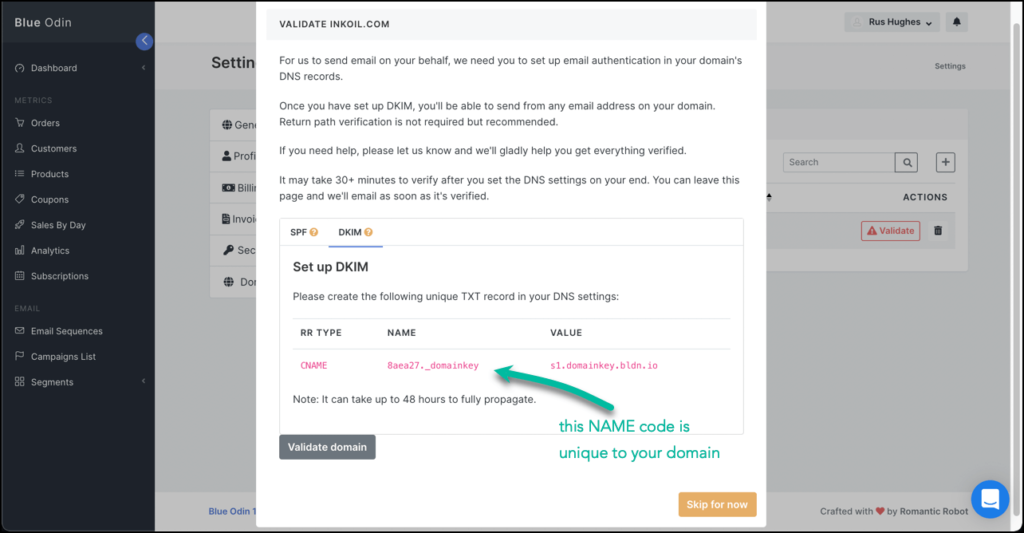
Let’s say, for example, your domain name is yourawesomestore.com. You will need to add a new CNAME record for 8aea27._domainkey.yourawesomestore.com and point it to s1.domainkey.bldn.io.
Note: It can take up to 48 hours to fully propagate.
What’s next?
Now that you’ve set up both SPF and DKIM records, the next step is to validate your domain in Blue Odin.