Blue Odin’s automated email system is great for sending campaigns and trigger-based email sequences.
To help ensure your emails are getting delivered to your customers’ inboxes, create or update your domain’s SPF and DKIM records.
Otherwise, your emails may be going straight to the junk folder!
Table of Contents
- A quick background on SPF and DKIM
- The 3-step approach to making Blue Odin your domain’s authorized email sender
- Step #1 – Set up your custom domain email address
- Step #2 – Add and validate your sender domain
- Step #3 – Add sender domain in Site settings
- What’s next?
A quick background on SPF and DKIM
SPF stands for Sender Policy Framework. It’s an email authentication technique that prevents spammers from sending emails on behalf of your domain. Only specified servers and IP addresses can use your domain name.
DKIM, on the other hand, stands for Domain Keys Identified Mail. DKIM is a form of email authentication that makes sure only authorized senders send emails, by signing each email as it’s sent. This helps reduce the chance that your emails are flagged as spam by boosting the reputation of your emails.
By adding Blue Odin to your domain name server’s SPF and DKIM records, you are letting your customers know that Blue Odin is an authorized email sender.
The 3-step approach to making Blue Odin your domain’s authorized email sender
#1 – You must send from a custom domain email add (create one if you have none yet)
#2 – Update Blue Odin settings with the custom email address created in #1
#3 – Add Blue Odin to your approved mail sender’s list (this is your TXT SPF and DKIM records) in your web hosting account
Scroll down for the details.
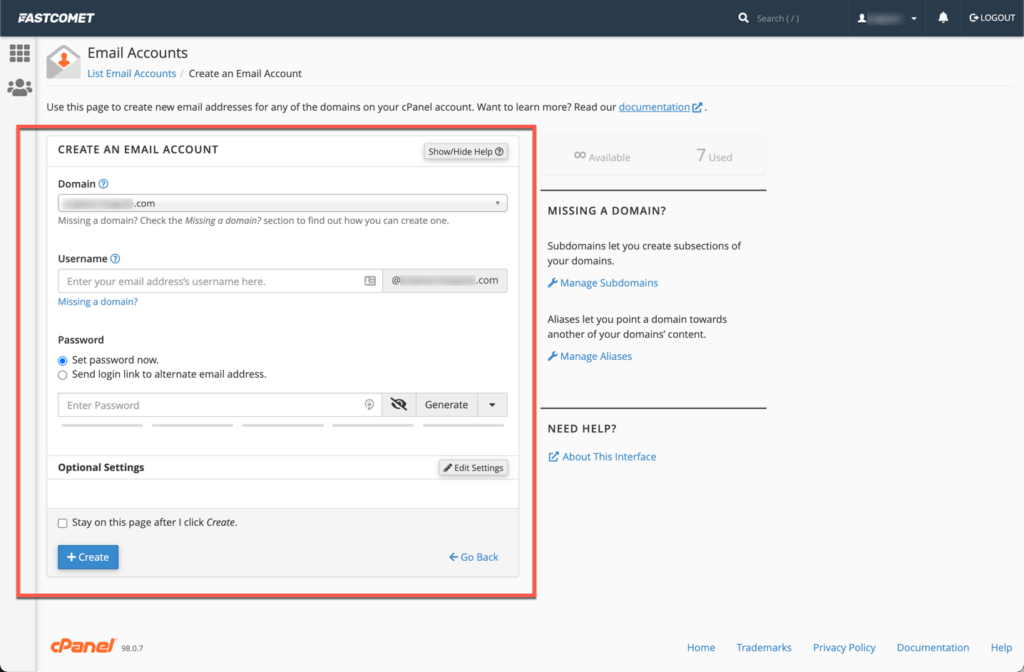
Step #1 – Set up your custom domain email address
You cannot use gmail, hotmail, or similar email services to send out emails from Blue Odin.
You must use a custom domain email address, e.g. support@companyname.com or hello@yourdomain.com.
If you don’t already have one, please check your web host’s instructions on how to do this as this process can vary greatly from one provider to another.
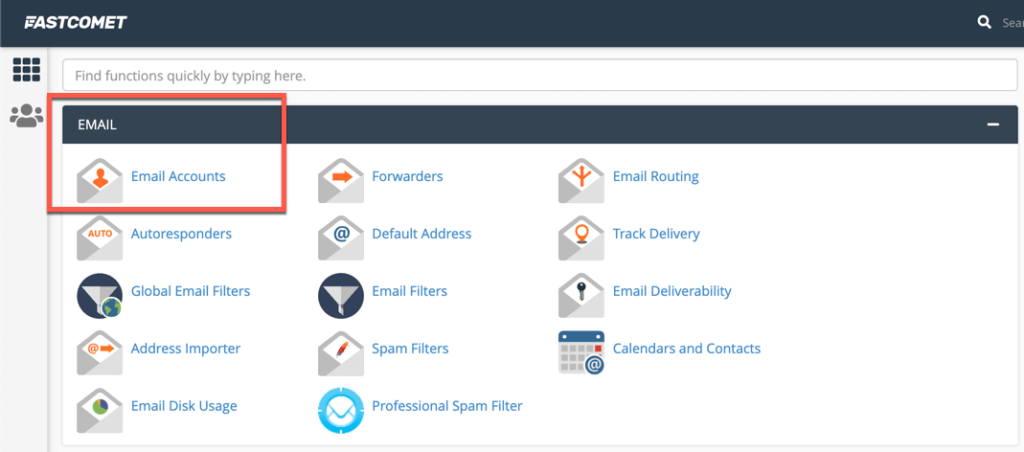
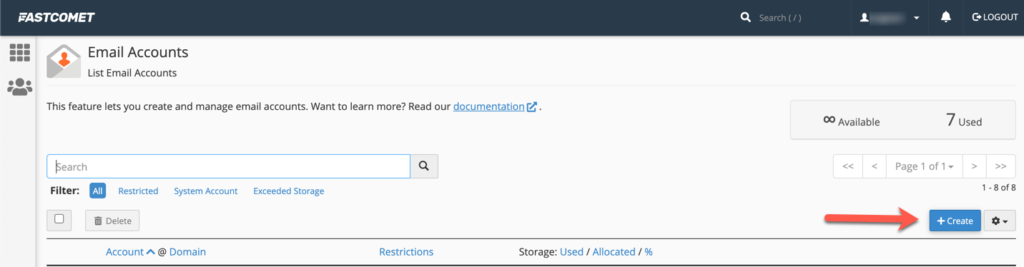
But if your web host uses cPanel, you should be able to create and manage your email accounts in the Email section.
Here’s an example:
Step #2 – Add and validate your sender domain
The sender domain is everything that comes after the @ symbol in an email address.
For example, if you want your emails to come from john@ecommercestore.com then you will need to add the domain ecommercestore.com to Blue Odin.
Please go to Profile > Settings > Domains to add and validate your sender domain.
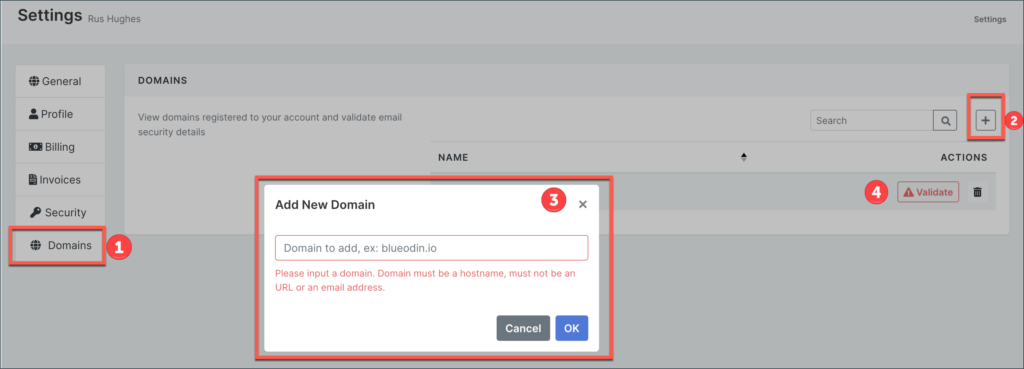
As you can see in the screenshot, you will need to type in the hostname, e.g. blueodin.io and NOT https://blueodin.io.
If you try to enter anything other than a-z, 0-9, – or . the app will not accept the domain.
To validate your domain, click on the red Validate box.
You will then see this pop-up containing the instructions on how to set up both SPF and DKIM in your domain’s DNS settings:

Follow the onscreen instructions on both tabs to set up SPF and DKIM.
Click on Validate domain once you’ve set up both settings in your DNS.
Important notes:
- There should only be a single TXT SPF record in your DNS.
- Do NOT create a new SPF record.
- Multiple SPF records will fail authentication.
- For DKIM, you will need to create a UNIQUE TXT record in your DNS settings (unlike SPF, you can have more than one DKIM record)
RELATED ARTICLE: How to add SPF and DKIM records in your web hosting account (cPanel and non-cPanel)
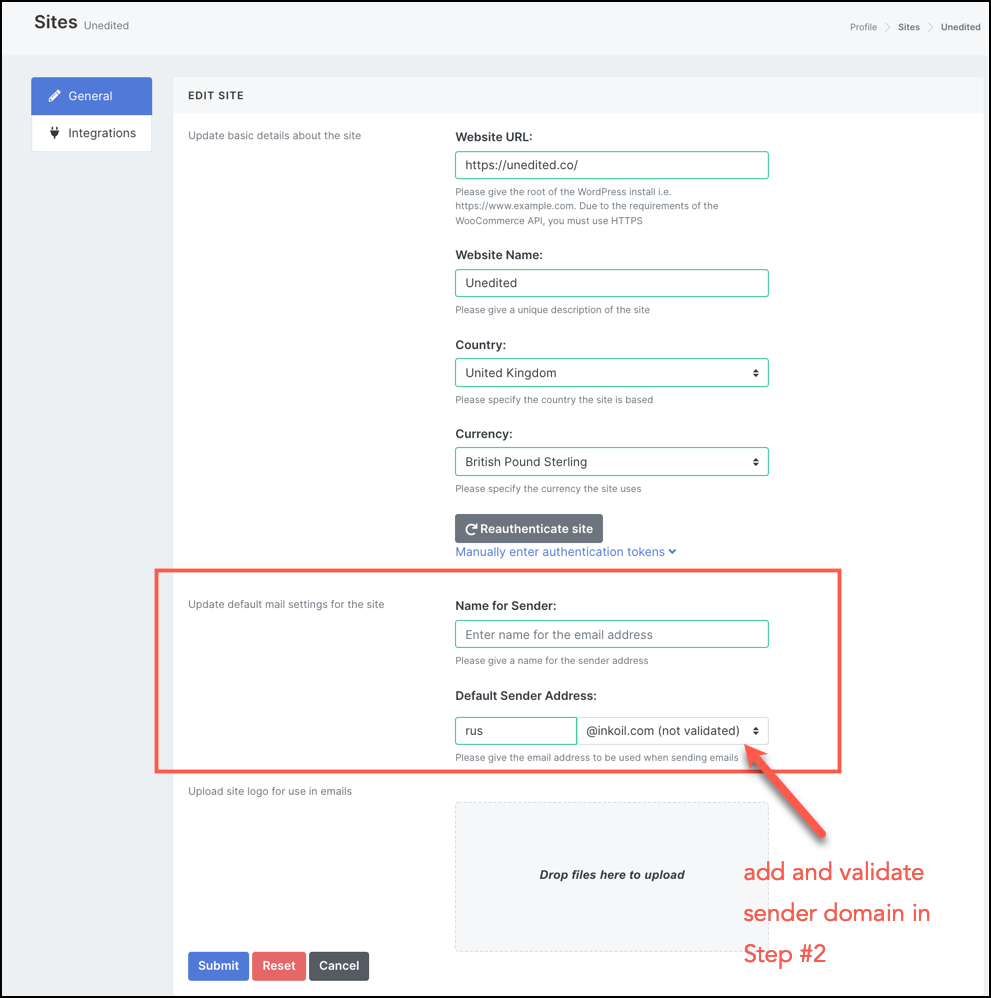
Step #3 – Add sender domain in Site settings
Now that you’ve added and validated your sender domain, it’s time to update your Blue Odin site settings.
Go to Profile > Sites > Select the WooCommerce site you want to update.
In the General tab, enter the sender name and default sender address (this is the email address from step #1). You may also upload your company logo here.
These are the details your customers see when they receive your Blue Odin emails.
What’s next?
Now that you’ve added Blue Odin to your list of authorized email senders, the next thing to do is to set up your Email Sequences and Email Campaigns!