The sign up process can be divided into 5 steps:
- Create your Blue Odin account
- Add your WooCommerce site
- Update your Site info
- Add integrations (optional)
- Answer a quick survey (optional)
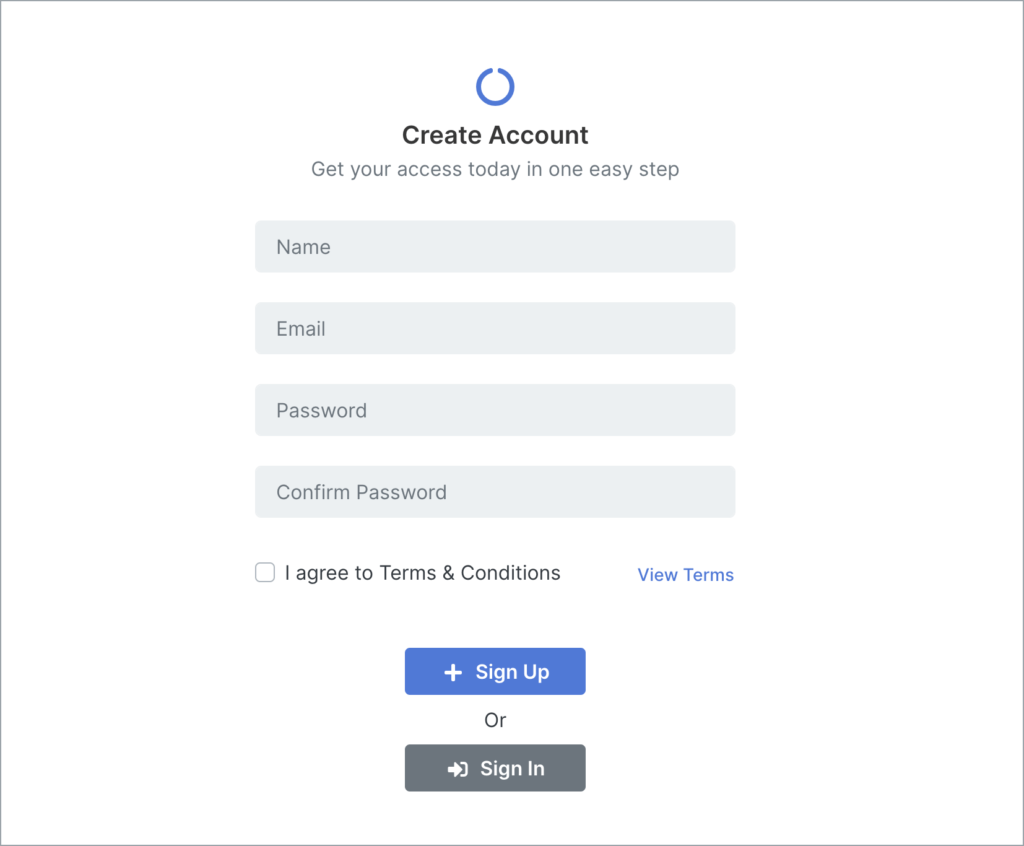
Step 1: Create your Blue Odin account
Click on Get Started.

Create your account by typing in your name, email, and password.
Tick the “I agree to Terms & Conditions” button and click Sign Up.
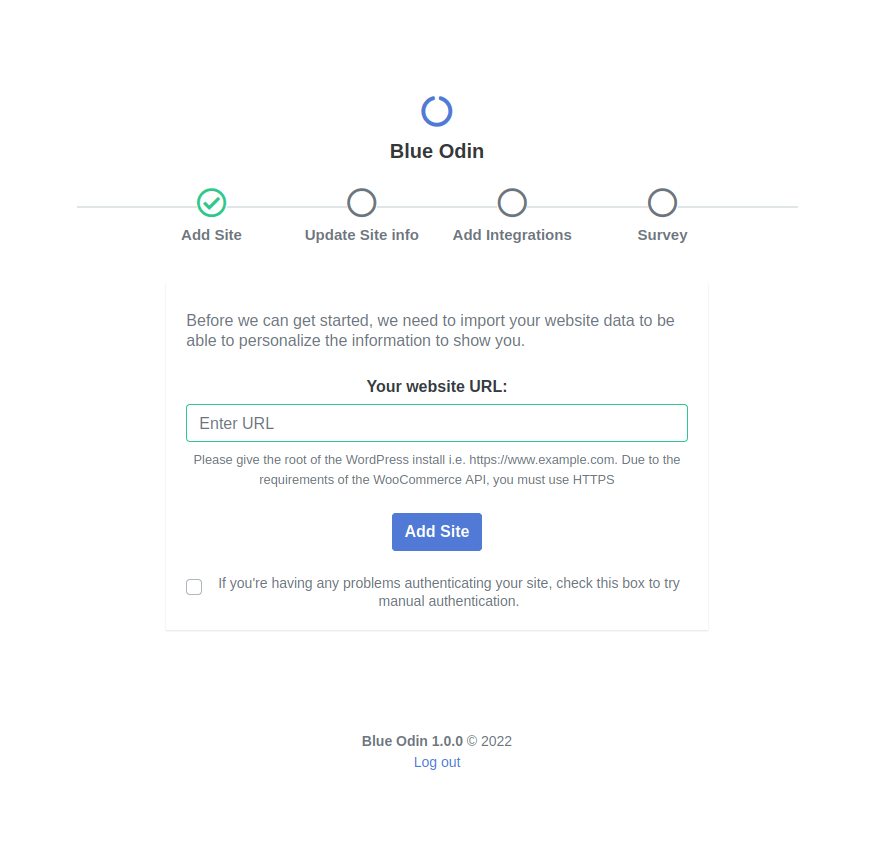
Step 2: Add your WooCommerce site
To add your WooCommerce site, you will need to do the following:
- Log in to your store’s WordPress admin.
- Enable WordPress permalinks at Settings > Permalinks.
Then enter your website’s URL and click Add Site.
Note: If you’re NOT logged in to your store’s admin backend, you will see the page below. You will be asked to enter your store’s login details and click the Login button.

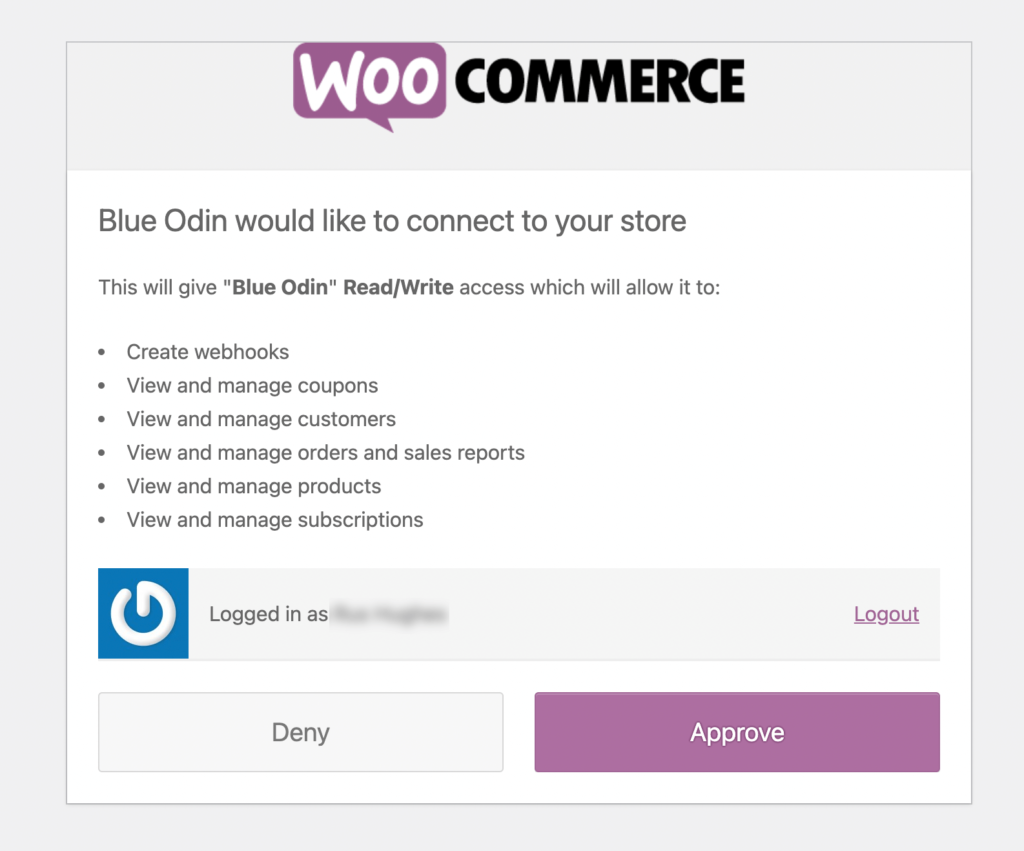
Click on Approve to connect your store to Blue Odin.
Step 3: Update your Site info
Blue Odin will ask you to confirm and update your site info.
Enter the Website Name, Country, Currency, and the Consumer Key and Consumer Secret from WooCommerce.
Then click on Submit.
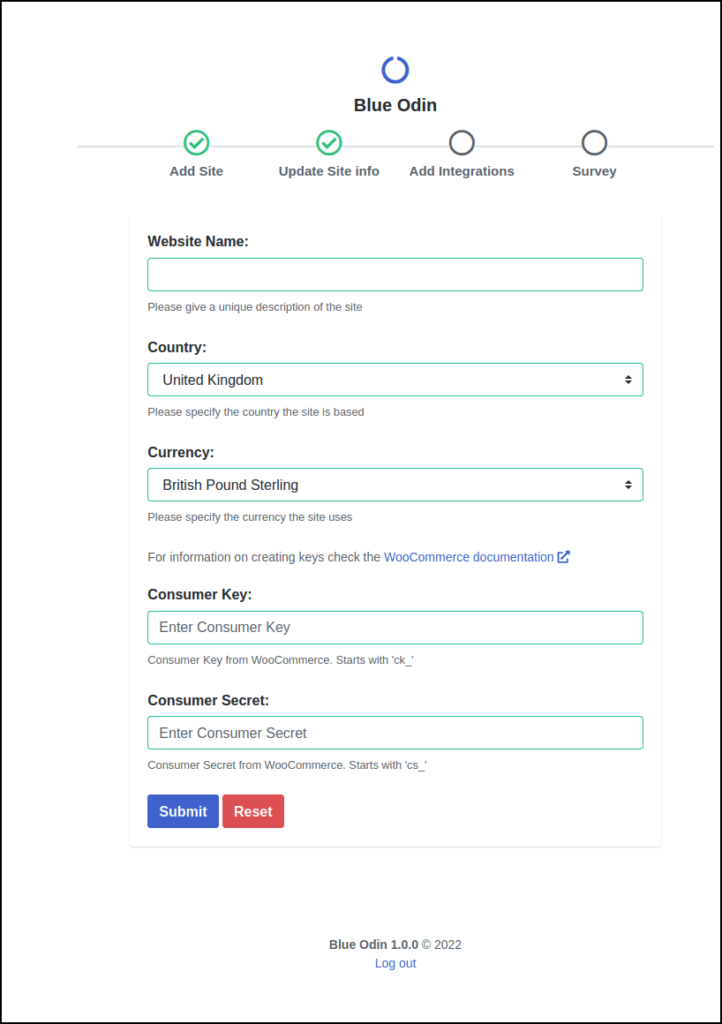
Note: Check the WooCommerce documentation for more information on creating authentication keys.
Problems with the automatic authentication process?
If you run into problems adding your WooCommerce store to Blue Odin, you may try again with the manual process.
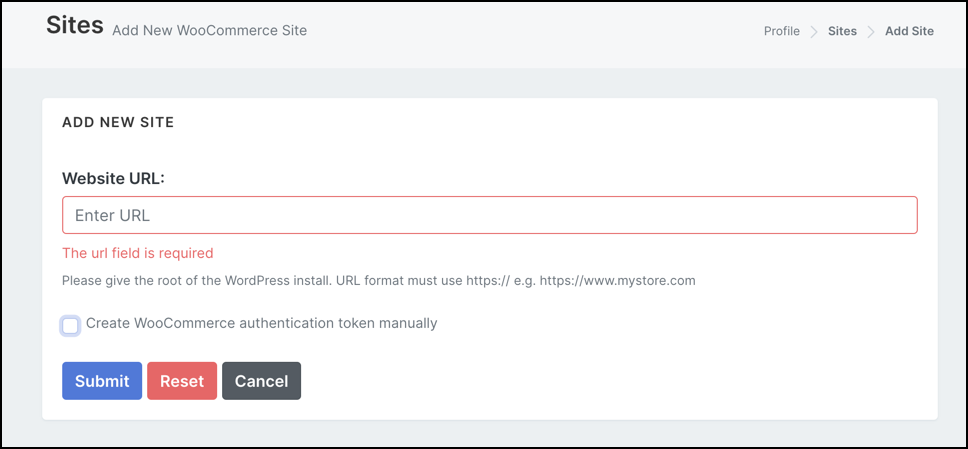
To do so, please click on your Profile > Sites > Add Sites.
Enter the website URL like you see in the screenshot below and tick the box that says “Create WooCommerce authentication token manually.” Then hit the Submit button.
For more information on creating authentication tokens, check the WooCommerce documentation here.
To connect more WooCommerce stores to Blue Odin, read this help article: How To Add A Site To Blue Odin
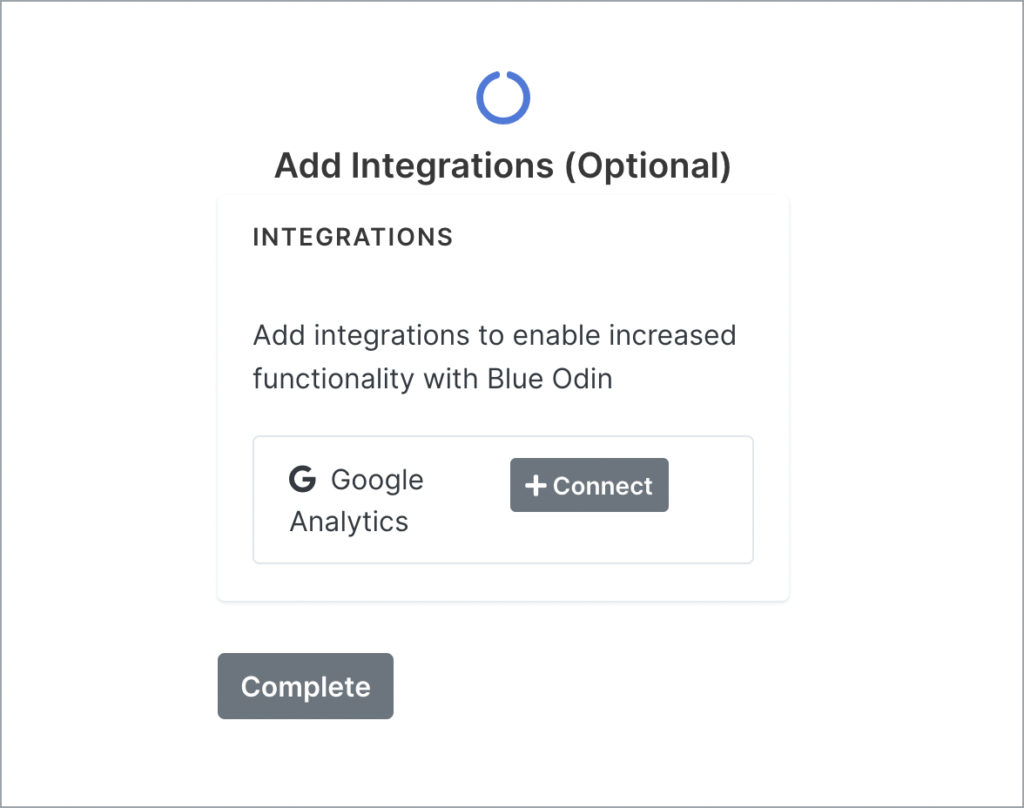
Step 4: Google Analytics integration (Optional)
If you’d like to connect to Google Analytics to increase Blue Odin’s functionality, hit the Connect button.
Note: If you DO NOT want to connect your Google Analytics, skip this step by clicking on the Complete button.
The next thing you’ll see is your Blue Odin dashboard!
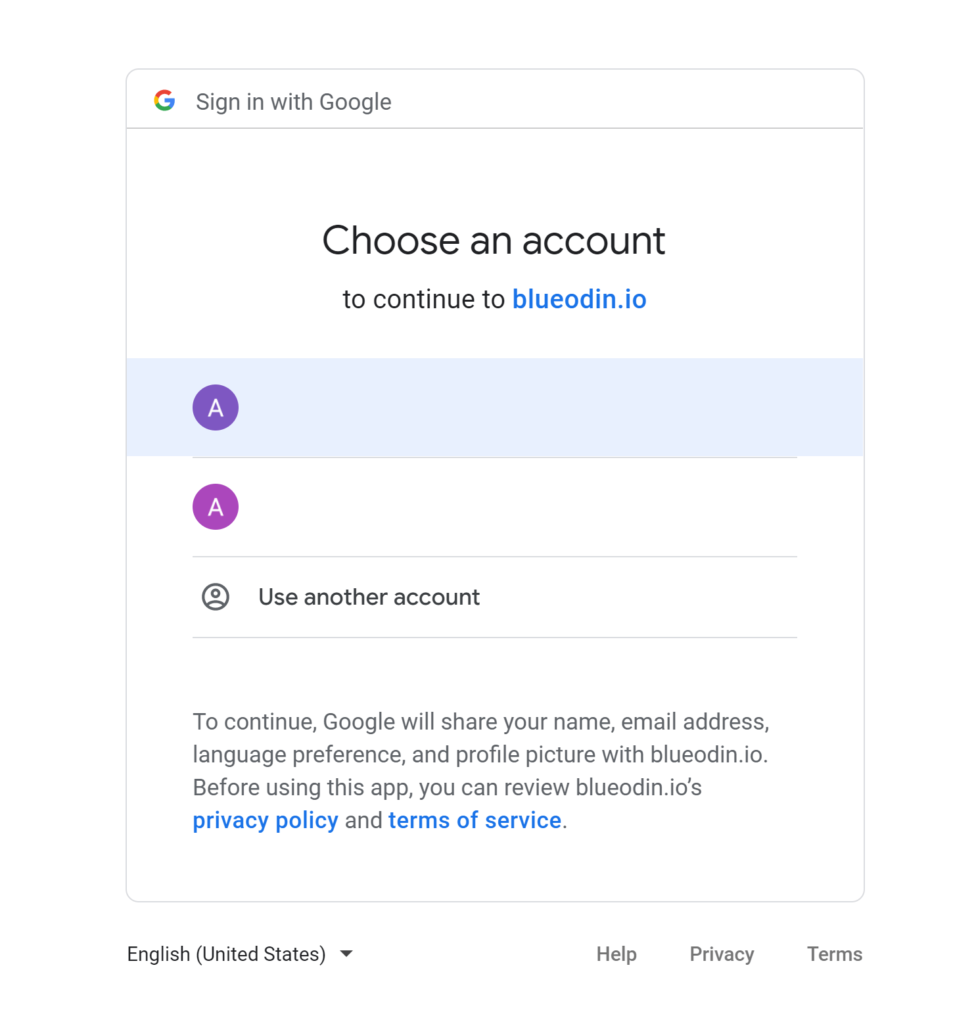
Choose the Google Analytics account you would like to connect to Blue Odin.
Click on Allow to grant access to Blue Odin:
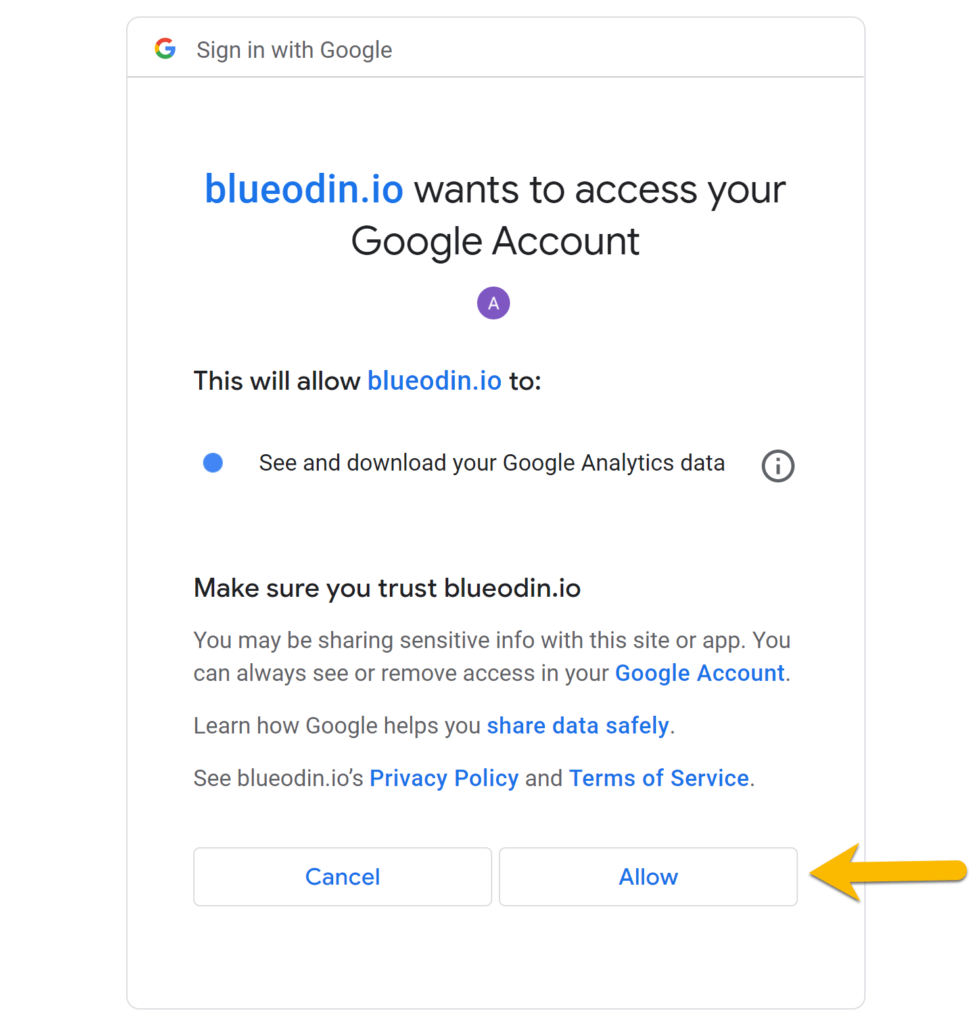
Once permission is granted, you will be redirected to Blue Odin.
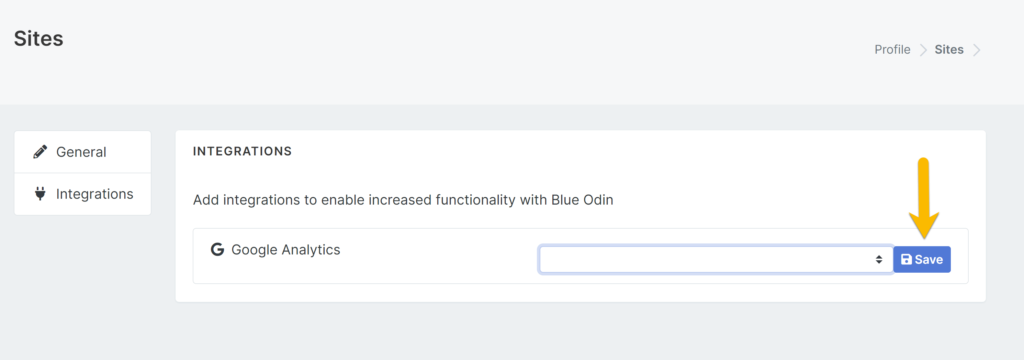
Click on the Save button to complete the Google Analytics integration.
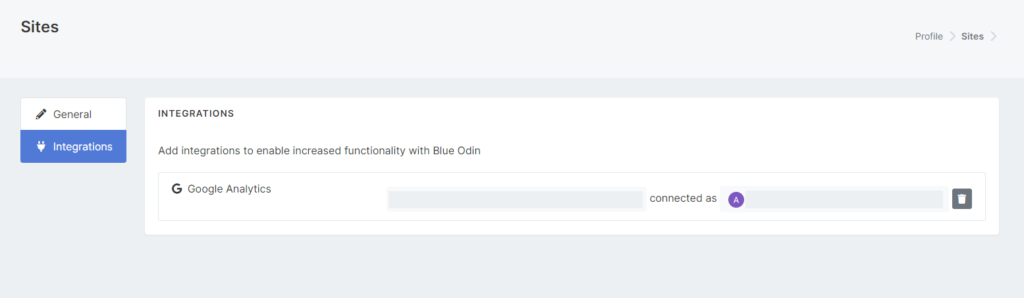
And here it is – your Google Analytics account finally connected to Blue Odin!
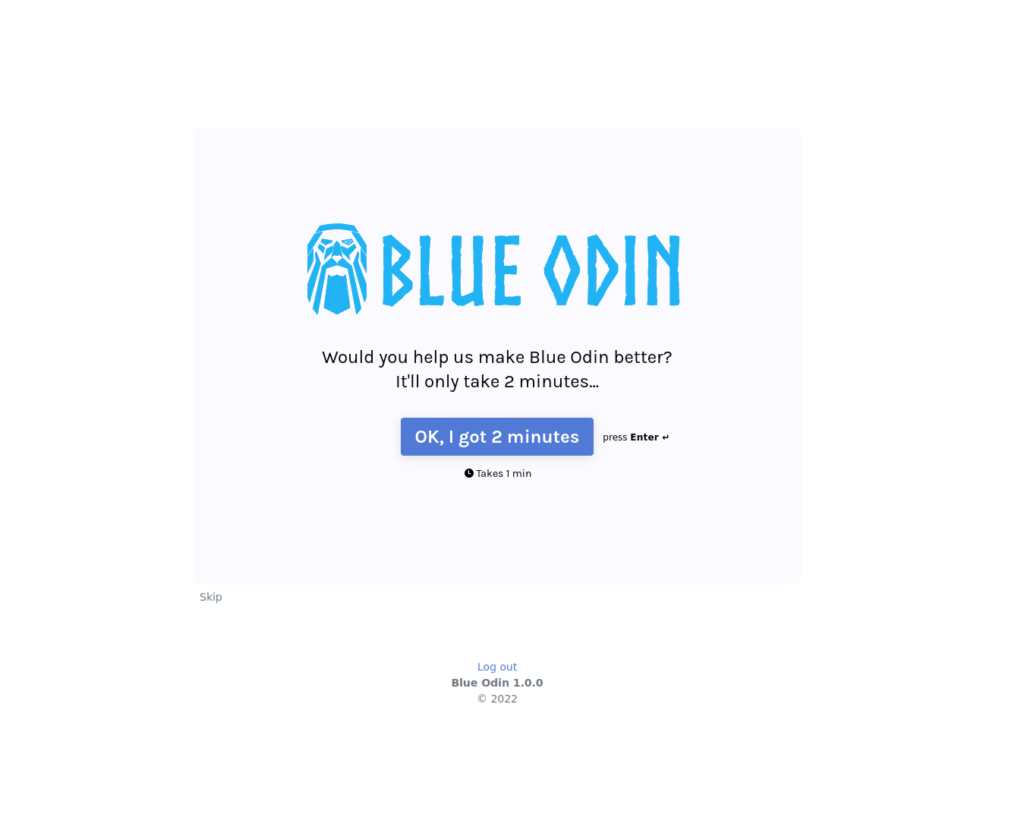
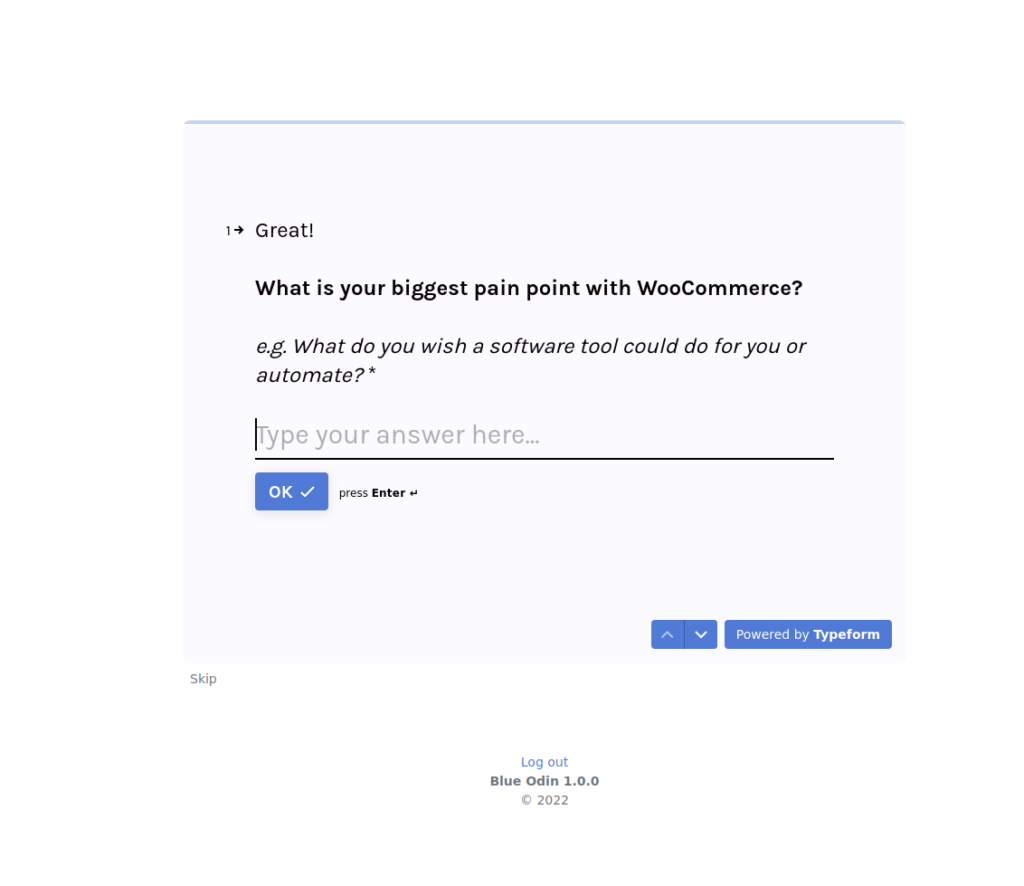
Step 5: Quick survey (optional)
This is an optional step, but we would greatly appreciate it if you take the time to answer our quick 2-minute survey.
And that’s it… welcome to your Blue Odin dashboard!
With your WooCommerce site added (and the optional Google Analytics integration), you can now start enjoying all of Blue Odin’s features.
Here’s what the Blue Odin dashboard looks like:
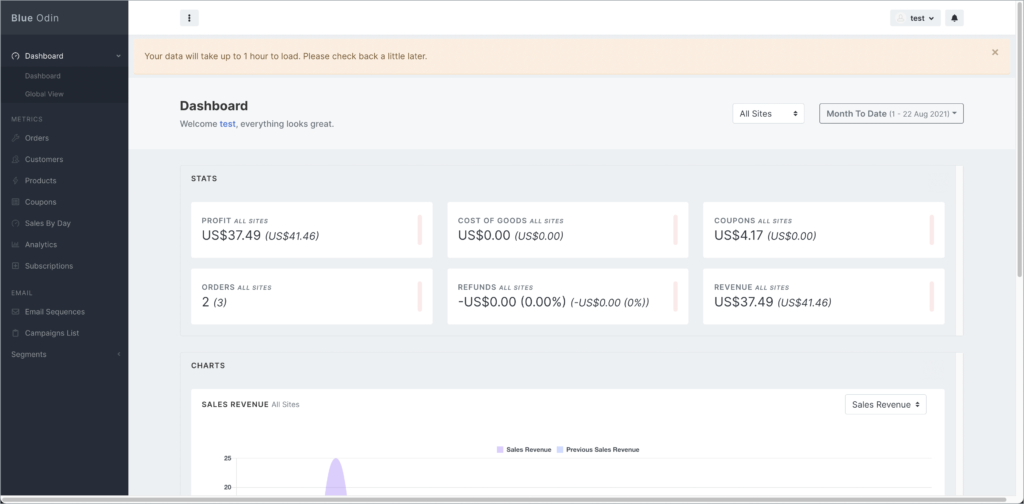
Note: Depending on your store’s data, it may take up to 1 hour to import everything to Blue Odin.